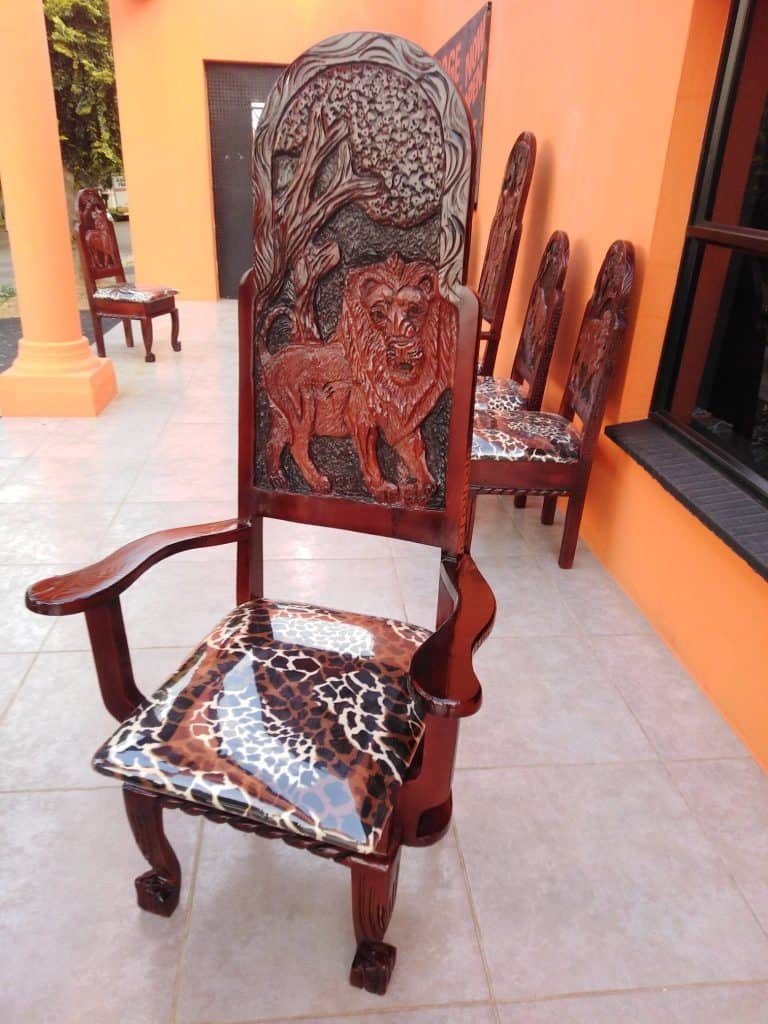
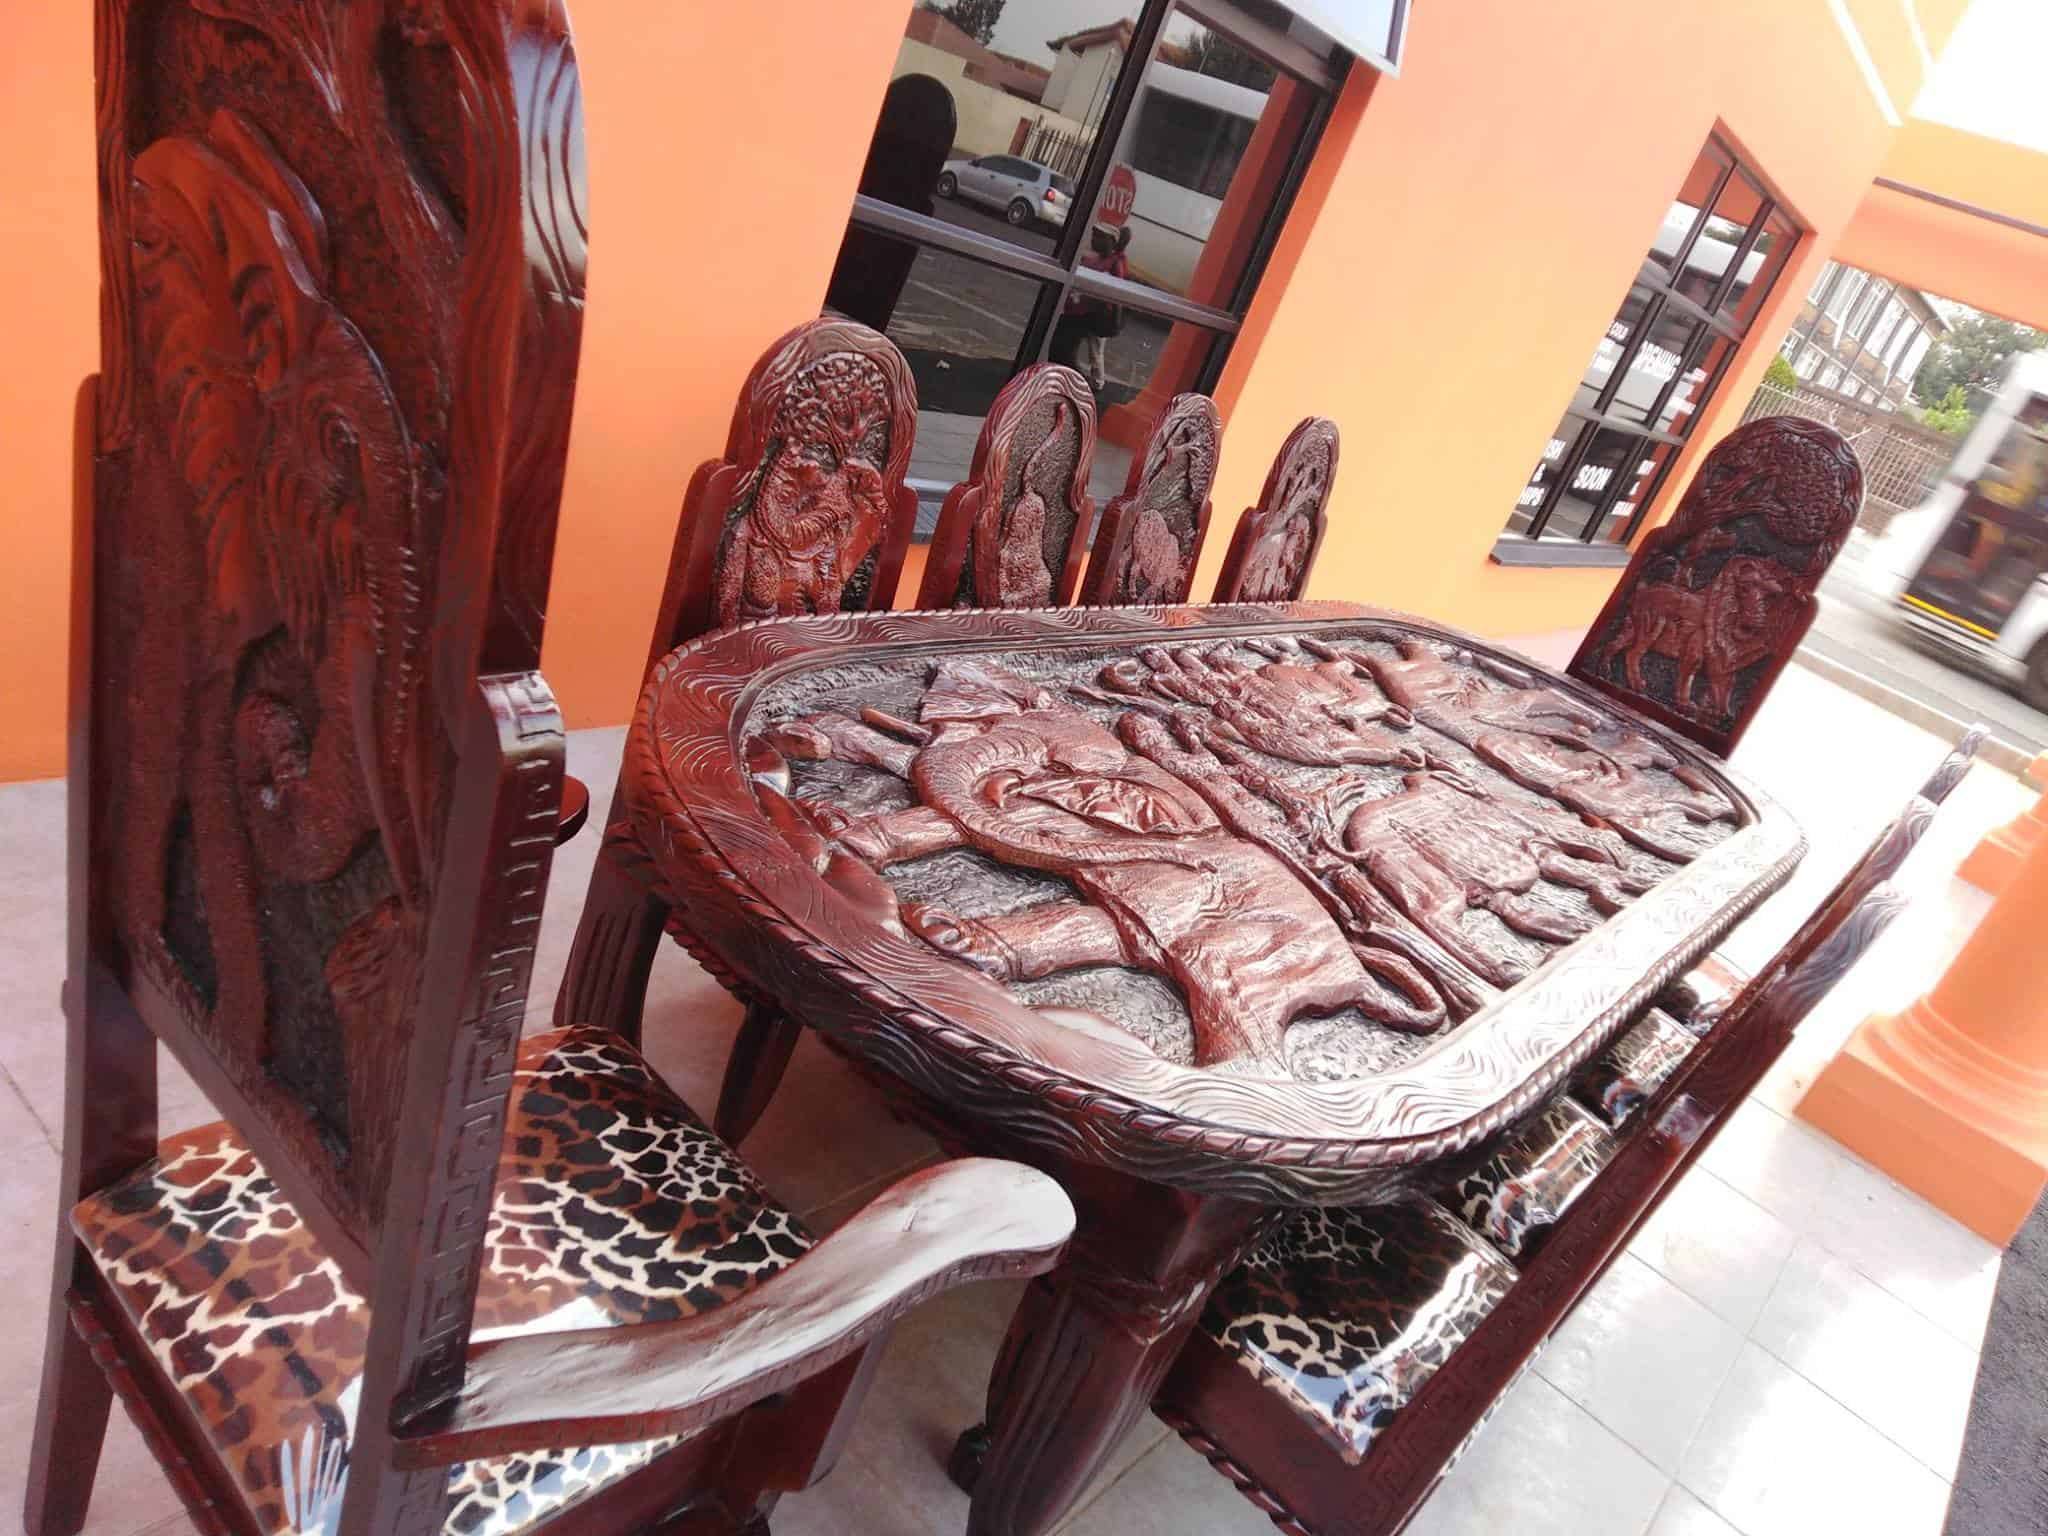
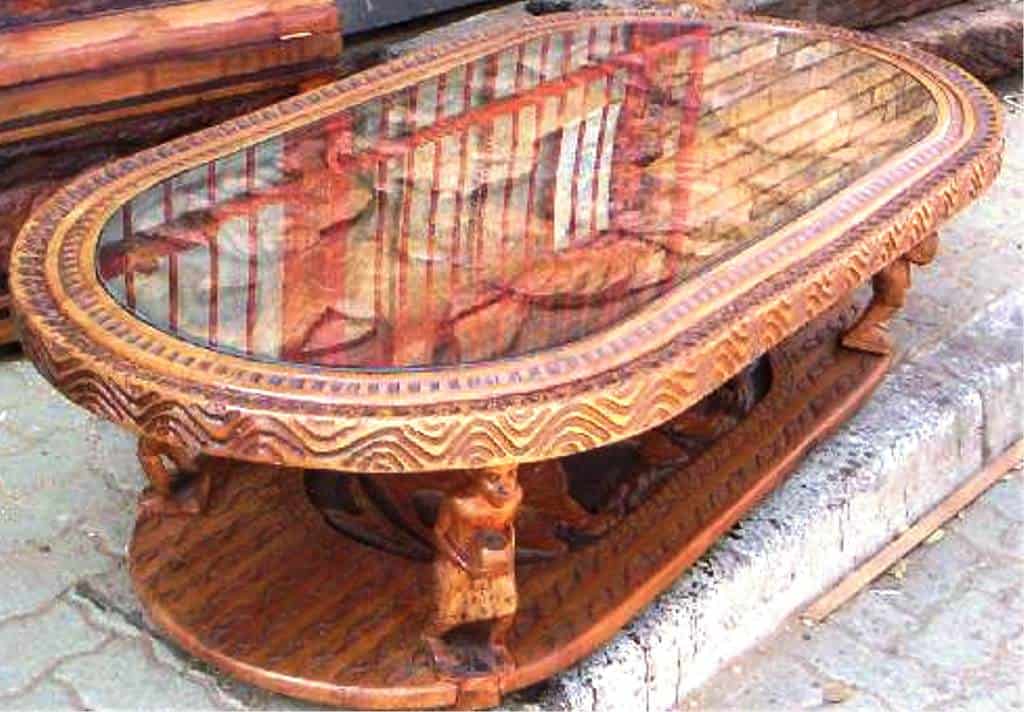
From the grand wooden chests of the Ottomans to grandfather clocks of Europe, furniture defines a culture. Nowhere is this truer than in Africa. Cultures as far removed as the Akan of Ghana and Zulu of South African have long practised the art of hand carving.
Their finished pieces are a marvel of skill and ingenuity.
Hand carving: an evolving tradition
Stools and headrests have often been notable objects of leadership and esteem. Stools represent political power. And in many cultures across Africa, it is impolite to sit on another’s stool. Headrests, meanwhile, were made for men and women alike. They were often adorned with decorations representing a region or tribe.
But African culture in furniture isn’t a lost art; rather, it’s an ever-emerging tradition—the process of turning wood into life. Furniture producers across Africa are now carving new traditions and styles. One of these is Chiwama Kennedy Daka at Mukango Wa.
Drawing upon traditional imagery and decades of experience, Chiwama produces intricate and engaging pieces.
As the sculptor himself says: carving “is more than just walking sticks; this is my heritage.”
But how does he do it? What’s the secret behind the magic?

The Art of Hand Carving
To start carving wood, every sculptor needs two things:
- Wood
- Tools
An expert like Chiwama relies on a whole workshop full of tools. Each with a specific purpose designed to achieve the desired effect. But carving doesn’t have to cost the earth.
Beginning with some simple tools is the best way to start. After all, if you’re trying to reconnect with your heritage or learn a new skill, go slow and build up.
What tools do you need?
Every expert wood carver – Chiwama included – would recommend starting with second-hand tools. But if you don’t know a chisel from a v-gouge, it’s hard to know where to even begin.
Here are five tools every aspiring carver needs in their workshop.
- Knife. Like a pocket knife, carving knives are often small – less than 3 inches long. It should fit comfortably in your hand – a good knife is a carver’s best friend.
- Chisel. Ranging from the tiny to the giant, chisels are the main tool of many carvers. Think about the scale you want to carve on and pick a chisel of an appropriate size. You can always build up your collection as needed.
- Mallet. Your chisel isn’t going to hit itself. You can’t use any old mallet, however. Wooden carving mallets are small and easy to strike. After all, carving requires small, precise movements.
- Gloves/thumb guard. Protecting your hands is critical. Investing in a good quality set of gloves and/or a leather thumb guard is non-negotiable, especially considering you’ll be hitting your hands quite a lot at first.
- V-gouge. Used to sketch out the rough carving shape, it’s a key piece of kit. Like chisels, v-gouges often come in various angles and tip sizes. You can also get u-gouges – which have a slightly different shape.
With these five key tools, you can start turning wood into life. But remember, it takes time and patience. The art of hand carving was not learned in a day.
Important safety points when carving wood.
Even professionals need to take precautions when hand carving. As you’re learning the craft, remember to stay safe. Accidents are still bound to happen. But with a little care and diligence, you can keep carving as safely as possible.
First, never forget how sharp your blade is (and always keep it sharp). Often accidents and injuries occur because of sloppy behaviour. People forget just how dangerous a knife can be. That’s why a quality pair of gloves or thumb guards are so important. They’ll stop the blade from causing too much damage.
Second, appreciate that the pressure comes from your hands when hand carving. Don’t lean with your back and shoulders’ full weight and force. Otherwise, one slip and you can cause a serious injury. Instead, hand carving is a delicate process, using your hand, wrist, and finger muscles.
That guarantees greater precision and better safety.

Hand carving tips and tricks
Practice makes perfect – the only way you’ll get better is the same as for every master before you. It’s a slow process. But with every chisel movement, your skill will improve.
Here are a few tips and tricks to get you started:
- Try out various chisel holds to see what feels most comfortable. The “yin and yang hold” is amongst the most popular.
- Establish big shapes first, then do detail. It can be a little unnerving knowing you can’t put back what you take off. But don’t be shy.
- Use sandpaper to remove the chisel marks (if you choose). Sandpaper isn’t a carving tool, however.
- Pick your wood carefully. Softwoods require little to no pressure meaning they’re easy to learn with – but mistakes happen. Hardwoods, however, take a lot more effort.
- The grain of the wood is important to consider. You can carve with, parallel, or diagonal to the grain. But carving against the grain is nigh impossible. It’s like swimming upriver. Never do it – you’ll only damage the carving.
The art of hand carving is a timeless African tradition. To reiterate the words of Chiwama, “[carving] is more than just walking sticks; this is my heritage.” Hand carving is a chance to express yourself and explore your people’s traditions and culture.
At Mukango Wa Africa, all our carvings celebrate Africa to its core. African life runs through every piece, from the Big 5 to pastoral scenes.
What will you carve?


